how to reheat leftover pizza that was frozen: Best Ways
For the best texture, reheat frozen leftover pizza in a 375°F oven or toaster oven until the crust is crisp and the center reaches 165°F. You can also use a skillet or air fryer for a quick serving; thawing first is optional.
This guide explains how to choose a method, set the right temperature, and avoid a soggy base or dried-out cheese. You’ll find practical timing ranges, advice for different crusts and toppings, and safe ways to handle slices straight from the freezer. Appliance performance varies, so use visual cues and a thermometer where needed instead of relying on the clock alone.
How to reheat leftover pizza that was frozen
For several slices or a whole pie, use an oven or toaster oven. Set it to 375°F, arrange the frozen pieces in a single layer, and heat until the cheese is hot and the center reaches 165°F. The oven warms the topping and base more evenly than a microwave, while dry heat helps the crust regain some crispness.
For one or two slices, a covered skillet is often faster and gives you a crisp bottom. An air fryer is another convenient option for a small batch. A microwave is useful when speed matters most, but it usually leaves the crust soft. Pick the appliance based on how many slices you’re reheating and the texture you want.
You do not have to thaw cooked pizza before reheating it. Heating slices directly from frozen saves time and avoids leaving food at room temperature. If you prefer to thaw them, do so in the refrigerator, not on the counter, and reheat promptly.
Framendino, 16 Pack Artificial Chicken Nuggets Fake Fried Food Models Props for Kitchen Decor
Check Price on AmazonReheating methods compared
Use these general starting points for slices taken directly from the freezer. Timing changes with slice size, crust thickness, topping load, and appliance strength. Check early, then continue heating in short intervals until the middle is thoroughly hot.
| Method | Starting setting | Typical starting time | Best for |
|---|---|---|---|
| Oven | 375°F | About 10–15 minutes | Several slices or the most even result |
| Toaster oven | 375°F | About 8–12 minutes | One to three slices without heating a full oven |
| Skillet with lid | Low to medium-low | About 6–10 minutes | A crisp base and melted topping for one or two slices |
| Air fryer | 350°F | About 5–8 minutes | A quick, crisp result for a small batch |
| Microwave | High power | About 1–3 minutes, in short bursts | Speed and soft crust, especially for a single slice |
These are starting ranges, not guarantees. A thick, heavily topped slice can take longer than a thin cheese slice. Follow your appliance’s instructions, leave space for heat to circulate, and check the center before eating.
Oven method for an evenly heated slice
A conventional oven is the most dependable choice when you’re reheating several pieces. It can warm the center without scorching the underside as quickly as direct contact with a hot pan. Use a baking sheet for easy handling, or place the slices directly on a clean oven rack if you want a drier, crisper base.
- Preheat the oven to 375°F. Let it reach temperature before adding the slices so the reheating time is more predictable.
- Arrange the pieces with space between them. Keep them in one layer. Crowding can slow heating and trap steam.
- Heat from frozen for about 10 minutes, then check. Continue for a few minutes at a time if the center is still cold. Thick crusts may need longer.
- Check the hottest and coldest areas. The cheese should be hot, and the center of the slice should reach 165°F for safe reheating.
- Rest briefly before serving. Let the slice stand for a minute or two. The topping can be very hot even when the crust feels manageable.
If the cheese browns before the center is hot, lower the oven temperature to 350°F and keep heating. If the crust is hot but still soft, move the slice to the oven rack for the final few minutes. Watch closely so the bottom does not burn.
Toaster oven method for a small serving
A toaster oven works much like a full oven, but its smaller interior can heat food quickly and unevenly. Use the same 375°F starting temperature, and begin checking a slice after about 8 minutes. Leave a little room around each piece rather than lining slices tightly against one another.
Use the toaster oven’s baking setting when available. If it uses a powerful top element, position the rack so the cheese does not sit too close to the heating element. The crust can brown before the middle warms, so lower the temperature if the top is darkening too quickly.
Place slices on the oven-safe tray supplied with the appliance, or use a suitable oven-safe pan. Do not use wax paper, plastic, or any material that the manufacturer does not approve for oven use. Check the center temperature before serving, especially when reheating thick or piled-high slices.
Skillet method for a crisp bottom
A skillet is a good choice when you want a crisp base without turning on the oven. It works especially well for one or two pieces. Use a pan with a lid; the lid holds heat near the topping so it can warm while the underside browns.
- Place the frozen slice in a cool, dry skillet. A nonstick or well-seasoned pan can help prevent sticking. There is usually no need to add oil.
- Set the burner to low or medium-low. High heat can burn the crust before the center thaws and heats through.
- Cover the pan and heat for several minutes. Check the underside after about 4 minutes, then continue until it is crisp and the topping is hot.
- Confirm the middle is fully hot. If the bottom is ready first, turn the burner lower and keep the lid on so the top continues warming without scorching the crust.
If the cheese stays cool while the bottom is browning, add a teaspoon of water to an empty part of the pan, away from the slice, and cover immediately. The brief steam can help warm the top. Keep the water off the crust, since moisture on the base works against crispness.
Don’t walk away from a skillet. Stovetop heat can vary sharply between burners, and a thin crust may brown quickly. If the base begins to darken, reduce the heat at once or transfer the slice to an oven to finish heating more gently.
Air fryer method for a quick, crisp result
An air fryer circulates hot air around the slice, which can crisp the crust efficiently. For frozen cooked pizza, start at 350°F and check after about 5 minutes. Add time in short increments until the center is hot. Keep slices in a single layer so air can move around them.
Some air fryers have small baskets, and melted cheese can drip or stick. Use a perforated liner only if it is designed for your appliance and is secured beneath the food. Never place a loose liner in an empty, running air fryer; the fan can lift it toward the heating element.
Thick crusts and dense toppings may need longer than thin slices. If the cheese browns quickly, reduce the temperature and continue heating. Avoid stacking pieces or covering the basket, because blocked airflow can leave cold spots.
Microwave method when speed matters
A microwave is the fastest option, but it tends to soften the crust because it heats moisture inside the food. Use a microwave-safe plate and heat one slice at a time when possible. Start with 30- to 45-second bursts, then check the center and continue in shorter intervals.
Microwave power varies, and a thick frozen slice may need more than one round. Let it stand briefly between bursts so heat can spread through the slice. If you have a food thermometer, check the center; do not assume that bubbling cheese means the middle is hot enough.
To improve the texture, transfer the microwaved slice to a preheated skillet for a minute or two to crisp the base. You can also microwave it only until thawed, then finish it in a hot skillet or toaster oven. Use a microwave-safe plate, and do not use metal unless the appliance instructions specifically allow it.
Should you thaw frozen slices first?
Thawing is optional. Reheating directly from frozen is convenient and safe when you heat the pizza thoroughly. It can take a few minutes longer, but it avoids an extra preparation step and reduces the time food spends outside refrigeration.
If you want a shorter heating time, thaw slices in the refrigerator. Put them on a covered plate or in a sealed container to keep them separate from raw foods and prevent drips. Once thawed, reheat them soon rather than letting them sit out.
Do not thaw pizza on the kitchen counter. The outer parts can warm while the center remains frozen, leaving the food at room temperature longer than necessary. Avoid using warm water to speed thawing; it can make the crust soggy and does not provide a controlled, even thaw.
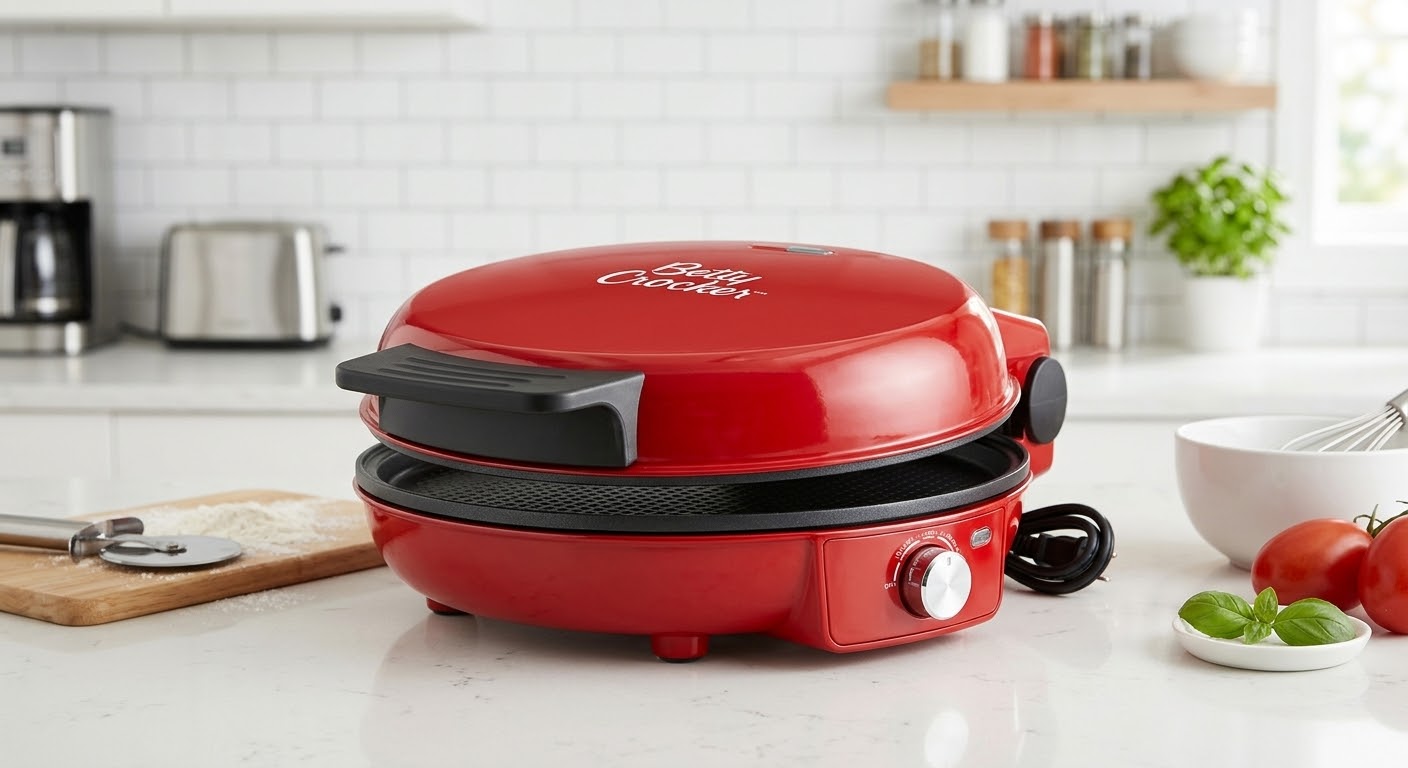
Betty Crocker Pizza Maker Plus, 12" Indoor Grill,
Check Price on AmazonAdjust the method for crust and toppings
Thin crust: It heats quickly and can dry out or burn before the toppings are ready. Check early, use moderate heat, and avoid leaving it in a hot skillet unattended.
Thick or stuffed crust: The center takes longer to warm. Use a moderate oven temperature and allow extra time. A thermometer is particularly helpful because the outside may feel hot well before the middle is ready.
Many or moist toppings: Extra vegetables, meat, or sauce can slow heating and add moisture. A rack or air fryer can help keep the underside from becoming soggy, but make sure the center reaches 165°F.
Cheese-heavy slices: Cheese may bubble or brown before the crust is heated through. If the top is browning too fast, reduce the temperature and continue gently. Handle the slice carefully; melted cheese can cause burns.
Gluten-free or delicate crust: Some crusts crumble more easily after freezing. Reheat on a lined baking sheet or in a pan that supports the whole slice, and avoid moving it repeatedly while it is frozen or very hot.
How to keep the crust from turning soggy
Moisture is the main reason reheated crust loses its bite. Steam trapped under a slice or inside a tightly packed container softens the base. A hot, dry cooking surface and space around the pieces help moisture escape.
- Use an oven rack, air fryer basket, or skillet when a crisp bottom is the priority.
- Heat slices in one layer rather than stacking them.
- Do not cover the pizza in the oven; reserve a lid for the skillet method, where it helps warm the topping.
- For the microwave, use short bursts and finish in a skillet if you want a crisper base.
A common mistake is turning the heat up to make the process faster. High heat can burn the bottom while the middle remains cold. Moderate heat and an extra few minutes usually produce a more even result.
Food safety and storage for frozen leftovers
Reheat cooked leftovers until the center reaches 165°F. The same target applies whether the slice is thawed or still frozen. A food thermometer gives a more reliable check than judging by melted cheese alone, especially for thick slices or crowded toppings.
Refrigerate leftover pizza within 2 hours of serving, or within 1 hour when the surrounding temperature is above 90°F. Store it in a covered container or wrap it well. Refrigerated leftovers are generally best used within 3 to 4 days; freeze what you will not eat in that period.
For better frozen quality, wrap individual slices tightly, then place them in a freezer-safe bag or container. Press out excess air and label the package with the date. The slices can remain frozen longer, but texture and flavor tend to decline over time; use frozen leftovers within about 3 to 4 months for best quality.
Freeze the slices promptly rather than waiting until they have spent several days in the refrigerator. If the food has been left out too long, freezing or reheating does not make it safe again. Discard food that smells unusual, has visible spoilage, or has been handled or stored unsafely.
Common reheating mistakes to avoid
Relying only on a timer: Appliances, slice size, and toppings all change the heating time. Treat any time range as a starting point, check the food, and use a thermometer when possible.
Using high heat from the start: A very hot pan or oven can brown the crust before the center warms. Begin with moderate heat and increase it only if the slice needs more surface crispness after heating through.
Overloading the appliance: Several tightly packed slices heat unevenly. Work in batches if needed, leaving space for air or heat to reach each piece.
Thawing at room temperature: Counter thawing can leave the outside warm for too long. Reheat from frozen or thaw in the refrigerator instead.
Assuming the cheese tells the whole story: Melted, bubbling cheese is not proof that a thick slice’s center is hot enough. Check the middle, especially near dense toppings or a stuffed crust.
What to do with a whole frozen pizza
This advice is for cooked pizza that was frozen after serving. If the pizza is uncooked or sold frozen as a ready-to-bake product, follow the package directions instead; its dough and toppings need to cook, not simply reheat. Check the label before choosing a temperature or time.
For a whole cooked pie, use an oven rather than a skillet or microwave. Place it on a baking sheet or suitable oven rack and heat at 375°F, checking the center and thickest sections until they reach 165°F. A large pie may take longer than individual pieces, so check progress rather than relying on a fixed time.
If the frozen pie is too large for your tray or oven, cut it into portions while it is still firm, then reheat the portions with space between them. Use a clean, sturdy surface and a safe knife technique. Avoid forcing a knife through a rock-hard pie; let it soften slightly in the refrigerator if cutting is difficult.
The oven is the best all-purpose choice for several slices, while a covered skillet or air fryer can give a small serving a crisp base. A microwave is quickest, but it usually makes the crust softer. Whichever method you choose, heat the center to 165°F and adjust the timing for slice thickness.
For your next serving, place a slice straight from the freezer in a 375°F oven and begin checking it after about 10 minutes. If you prefer a faster stovetop method, use low heat and a lid, then check that the middle is hot before eating.