how to draw elsa from frozen 1: step by step
This guide shows how to draw elsa from frozen 1 with simple shapes, clear proportions, and manageable details. Start with a light head shape, map Elsa’s pose, then build her braid, dress, and facial features before adding darker lines.
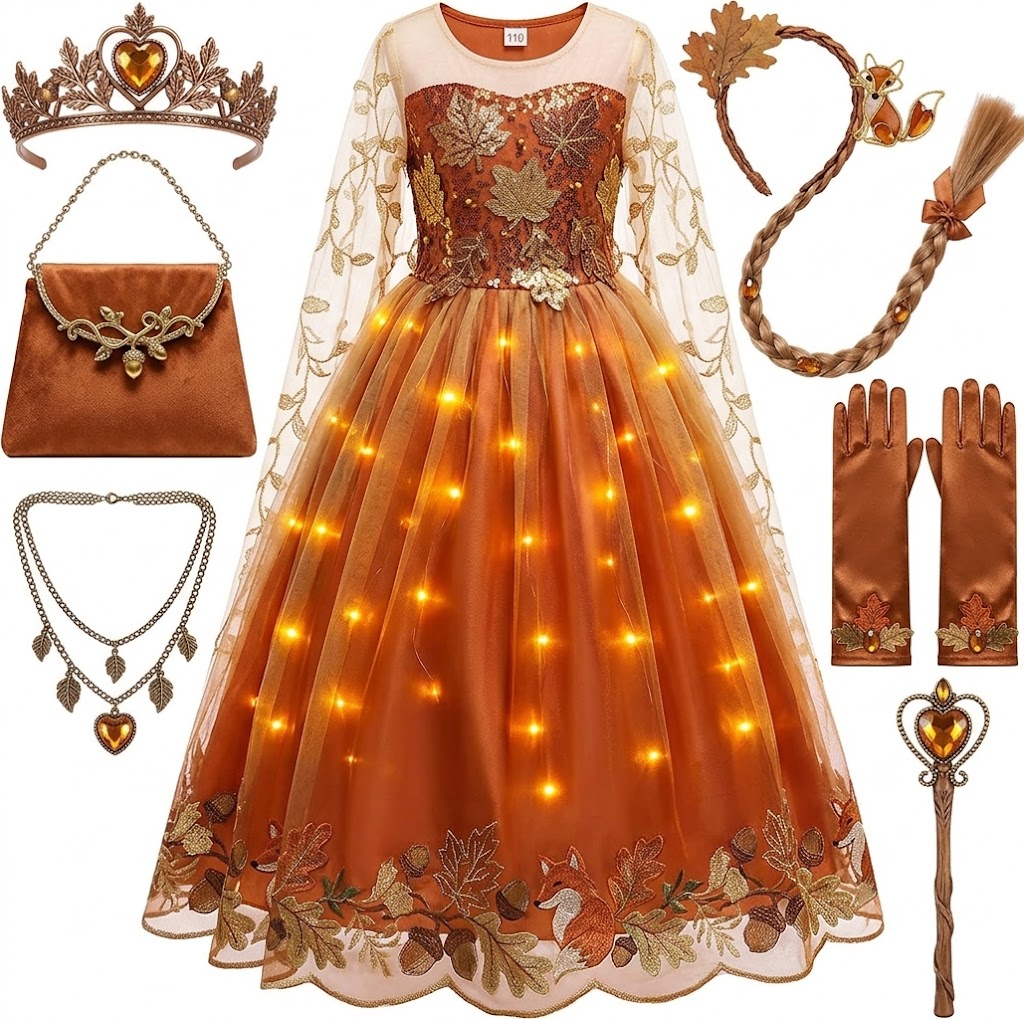
Princess Dresses for Girls Light Up Princess Costume for Christmas Halloween Toddler Princess Dress Up Clothes
Check Price on AmazonYou do not need advanced drawing skills or special supplies. A pencil, paper, and eraser are enough to make a recognizable portrait, whether you prefer a head-and-shoulders sketch or a full-body drawing. The steps below explain how to place each feature, keep the pose balanced, and add Frozen-inspired details without crowding your page. You will also find tips for correcting common proportion problems and choosing a drawing style that suits your experience.
how to draw elsa from frozen 1
Build the drawing from large shapes to small details. This order makes it easier to correct the pose before you spend time on Elsa’s eyes, braid, and clothing. Use gentle pencil strokes at first; you can darken the lines after the main shapes look balanced.
Gather a few simple supplies
Use plain drawing paper, a sharpened pencil, and a soft eraser. A ruler can help you place light guidelines, but it is optional. If you plan to color the finished picture, have colored pencils or markers nearby, but wait until the outline is settled.
Keep the page vertical for a standing figure or a portrait with a long braid. A horizontal page works well if you want to show more of Elsa’s flowing cape or a turned pose. Leave open space around the head so the braid and hair do not run into the paper’s edge.
Choose a pose before drawing details
For a first attempt, choose a simple standing pose or a head-and-shoulders portrait. A three-quarter view, where Elsa is turned slightly to one side, can feel expressive, but it is harder to keep the eyes and face aligned. Pick a pose that gives the braid and clothing enough room.
- Decide whether you are drawing a portrait or a full figure.
- Lightly mark the top and bottom of the figure, leaving a small margin around both.
- Draw a faint center line through the head and torso to show the direction Elsa is facing.
- Check the overall placement before adding hair, hands, or fabric details.
Build the head and body with basic shapes
Start with a loose oval for the head. Elsa’s face is animated and stylized, so the shape should feel soft rather than perfectly round. Make the forehead slightly wider than the chin, then taper the lower face gently. Do not draw a sharp point at the chin.
Add a vertical guideline down the face. If the head turns, curve the guideline slightly to follow the surface of the face. Draw a horizontal guideline about halfway down the head for the eyes. These marks are temporary placement aids, not final features.
Place the neck, shoulders, and torso
Draw a short neck beneath the jaw, then add a sloping line for each shoulder. Elsa’s shoulders should be narrower than the widest part of her dress or cape. For a full figure, use a simple torso shape that narrows at the waist and widens slightly at the hips.
Use long, light lines to plan the legs. Keep them close to the center of the body unless the pose calls for a step or turn. Block in the arms with simple lines and ovals at the elbows and hands. Hands are easy to overwork, so small mitten-like shapes are a useful starting point.
At this stage, the drawing should look like a pose made of basic forms. If the head seems too large, the shoulders uneven, or the body tilted in an unintended direction, adjust those shapes now. A little correction early saves much more work later.
Place Elsa’s eyes, nose, and mouth
Keep the facial features inside the head shape and use the guidelines to keep them aligned. Place the eyes on the horizontal guideline, with space between them. Elsa’s animated eyes are large compared with realistic proportions, but they should still fit naturally within the face.
Draw the eyes and eyebrows
Sketch each eye as a soft almond shape. Add the iris and pupil inside, leaving a small light area in each eye to suggest a reflection. The upper eyelid can be darker than the lower one. Keep the eyes at a similar height, especially if Elsa faces forward.
Draw slim eyebrows above the eyes, following the expression you want. A calm expression calls for gently angled brows; a surprised expression uses higher arches. Avoid making one eyebrow much higher than the other unless you intend a strong expression.
Add a small nose and a clear mouth
Use a short, light mark for the nose rather than outlining its entire shape. A small shadow or a subtle curve can suggest the tip and nostrils without making the feature too heavy. Place the nose below the eyes, close to the center guideline.
Draw the mouth between the nose and chin. Begin with a gentle line for the upper lip and a short curve for the lower lip. Elsa’s face often reads best with a relaxed, small smile. Check that the mouth sits on the center line and does not stretch too widely across the face.
Look at the face from a short distance or briefly turn the page upside down. This makes uneven spacing easier to notice. If the eyes, nose, or mouth feel misplaced, erase and adjust them before drawing eyelashes or shading.
Shape the hair and signature side braid
Draw the hairline around the forehead first. Elsa’s light hair is swept back from the face, so leave the forehead visible instead of covering it with a heavy fringe. Add a few curved strands that flow from the hairline toward the back of the head.
Plan the braid as one long, curved form beside the head and shoulder. Think of it as a tapered ribbon with a wider top and a narrower end. This simple outer shape gives the braid a clear direction before you add its woven sections.
Make the braid look woven
Inside the braid shape, draw a sequence of overlapping curved sections. Each section should cross toward the opposite side, creating a repeating pattern. Keep the sections broad enough to read clearly; tiny, dense marks can make the braid look like a dark stripe.
Vary the width slightly as the braid gets smaller toward its end. Add a small tie or band near the tip, then finish with a few loose strands. The strands should follow the direction of the braid rather than stick out randomly.
Keep the outer contour smooth. If the braid overlaps the shoulder or cape, show which shape is in front by making the braid’s edge continuous and letting the clothing line stop behind it. Clear overlaps help the drawing feel three-dimensional.
Draw the dress, cape, and flowing fabric
Elsa’s outfit in the first film is known for a pale blue palette and icy details, but the outline matters more than the color. Begin with the neckline and bodice, then use long curves to describe the skirt or cape. Let the fabric follow gravity and the direction of the pose.
For a portrait, show the upper part of the dress and a section of cape behind the shoulders. For a full-body figure, make the skirt wider near the lower edge and use a few long folds to guide the eye downward. Too many short lines can make fabric look stiff or wrinkled.
Show fabric with a few deliberate folds
Choose where the fabric is pulled or bent, such as the waist, elbow, or shoulder. Draw folds that radiate from those points. Use longer lines for broad hanging fabric and shorter curves near a bend. Keep some areas clear so the dress does not become a web of marks.
Separate the cape from the dress with a clear edge or a change in value. If you are drawing the cape behind Elsa, let its outline begin at the shoulders and flow outward. A few sweeping curves can suggest movement without requiring a complicated background.
Compare simple drawing approaches
The right approach depends on the level of detail you want and how comfortable you feel with proportions. A simpler sketch is not a lesser drawing; it can make the important features easier to recognize.
| Approach | What to draw | Best for |
|---|---|---|
| Head-and-shoulders portrait | Face, swept-back hair, braid, neckline, and cape edge | Beginners who want to focus on facial features |
| Simple full figure | Basic body pose, long dress, braid, and a few folds | Practicing proportion and overall silhouette |
| Detailed character sketch | Facial expression, layered hair, clothing folds, and icy accents | Artists comfortable refining shapes and shading |
| Coloring-page outline | Clean contours with large spaces and few interior marks | Young artists or anyone planning to color the drawing |
If the face is your main goal, choose the portrait. If you want to practice the dress and pose, draw the full figure using simplified limbs first. For a coloring page, use fewer lines and leave broad areas open for color.
Refine the outline and erase construction marks
Once the pose, face, hair, and clothing are in place, compare the parts before darkening the final outline. Check that the braid connects naturally to the head, the neck sits beneath the jaw, and the shoulders support the head. Look for tangles where hair, cape, and dress edges meet.
- Review the full silhouette before adding small decorations.
- Correct uneven shoulders, an off-center face, or a braid that is too narrow.
- Trace the lines you want to keep with a firmer pencil stroke.
- Erase the faint guidelines gently so they do not smudge the finished outline.
- Wait until the paper is clean before adding color or shading.
Do not press hard while sketching. Heavy early marks are difficult to erase and can leave grooves in the paper. A light outline also gives you room to adjust the expression or pose without damaging the page.
Add color and icy details without clutter
If you color the drawing, use pale blue for the dress and cape as a starting point, then add darker blue in selected folds and edges. Keep the face and hair lighter so they remain distinct. A small amount of warm color in the face can provide contrast against the cool clothing.
Use white or a very light pencil for highlights if your paper allows it. Place highlights on a few hair strands, fabric folds, or icy decorations. Leave some areas uncolored to preserve the feeling of light; filling every space evenly can flatten the drawing.
Snowflakes and sparkle marks are optional. Add only a few around the figure, and keep them away from the eyes and facial outline. The character should remain the clearest part of the page.
Fix common proportion and drawing problems
The face looks crowded or uneven
Check the eye line and center guideline. If the head is turned, the far-side eye may appear narrower, but both eyes should still follow the same perspective. Move the features as a group if they sit too high or low, rather than changing each one separately.
The braid looks like a plain tube
Make the braid sections cross in a repeating pattern and vary their width slightly. A smooth outer shape is helpful, but the interior overlaps are what make the braid read as woven. Keep the pattern clear instead of adding many short, random strokes.
The dress looks stiff
Use longer curves that follow the direction of the fabric. Add folds near places where the material bends or gathers, not at equal intervals across the entire dress. Leave open spaces between folds so the fabric keeps its shape.
The drawing becomes too dark
Reserve the darkest pencil marks for the pupils, selected hair lines, and a few clothing edges. If every outline has the same weight, the image can look flat. Lighter interior marks help separate the face, hair, and fabric.
Make the next drawing easier
Use the same construction order on another attempt: pose, large shapes, facial guidelines, hair, clothing, and final details. Change just one challenge at a time. For example, keep the pose simple while practicing the braid, then try a turned head after the braid feels familiar.
A useful tip is to make a small thumbnail sketch before starting a larger version. A thumbnail is a quick, small drawing that lets you test the pose and page placement without committing to details. If the silhouette reads clearly at that size, it is more likely to work when enlarged.
Most drawing problems are easier to fix by checking the whole silhouette than by adding more detail. Step back, compare the head and body sizes, and adjust the largest shapes first. A clear pose and recognizable braid will usually do more for the finished picture than extra decorative marks.
Start with a light pose and simple shapes, then place the facial features, swept-back hair, braid, and flowing outfit. Careful proportions and a clean silhouette matter more than adding lots of small details.
For your next step, sketch the head and braid lightly on a fresh page, check their placement, and only then refine the face and clothing. This makes how to draw elsa from frozen 1 easier to follow and gives you room to correct the drawing as you go.