how to draw elsa from frozen 2: Easy Steps
To draw Elsa from Frozen 2, start with a light sketch of her head, body, and flowing braid, then add her outfit and face before darkening the lines. Breaking the figure into simple shapes makes her pose easier to plan and adjust.
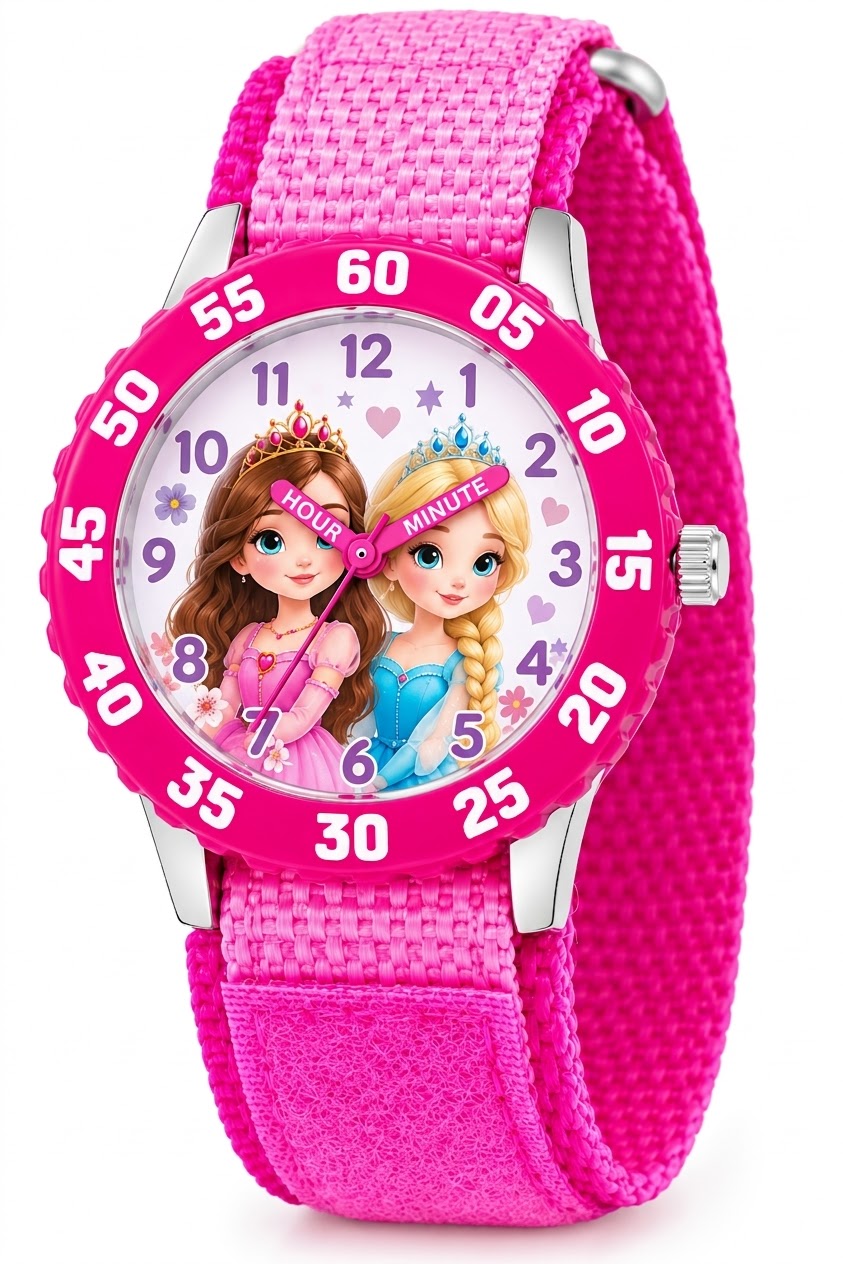
Disney Frozen Kids' Bezel Stainless Steel Time Teacher Analog Nylon Strap Watch
Check Price on AmazonThis step-by-step guide shows you how to build the drawing from basic proportions, shape Elsa’s recognizable features, and add clothing details without crowding the page. You’ll also find tips for choosing tools, correcting common mistakes, and adding color or shading. A few small planning choices—especially the direction of the braid and the angle of the shoulders—can make the finished portrait feel much more natural.
how to draw elsa from frozen 2: Start with simple shapes
Begin with a loose plan, not detailed facial features. Elsa’s hair, slim silhouette, and flowing clothes are easier to draw when you know where the whole figure will fit on the page. Light construction lines let you change the pose without leaving heavy marks.
For a full-body drawing, leave space above the head for her hair and below the feet for the hem or ground line. For a portrait, make the head larger and show only the shoulders and upper chest. Either format works; choose one before you sketch so the details have enough room.
Choose a pose and viewing angle
A front-facing pose is a good starting point because it makes the face and outfit easier to place. A three-quarter view, where the body turns partly to one side, can look more dynamic but requires more attention to the angle of the shoulders and hips. Use a reference image if you have one, and treat it as a guide to the pose and costume rather than a reason to rush into detail.
Decide where Elsa’s head is looking. Then draw a light center line down the face in the same direction. This simple guide helps you place the eyes, nose, and mouth consistently if her head is tilted or turned.
Gather a few basic supplies
Use ordinary drawing paper, a pencil, and an eraser. A harder pencil makes pale guide lines; a softer pencil makes darker marks for the final outlines. Colored pencils or markers are optional. If you plan to use markers, check that your paper is suitable and test a small patch first, since some markers bleed through thin sheets.
Keep your first lines faint. Pressing lightly makes it easier to correct proportions and erase construction marks later. You do not need a special drawing tool to make a clear character sketch.
Map Elsa’s proportions before adding detail
Use simple shapes to block in the figure. Draw an oval for the head, a narrow shape for the neck, and a few light lines to mark the shoulders, waist, and hips. For a full figure, sketch the legs and arms as simple lines before drawing their final contours. These guides help you check the pose as a whole instead of treating each part as a separate drawing.
Character illustrations often use stylized proportions, so do not worry about measuring Elsa against strict real-world anatomy. Focus on keeping the head, torso, and limbs balanced with one another. If the head looks too small, for example, the face may become hard to draw clearly and the character may lose the intended animated look.
- Mark the head. Draw a light oval and add a vertical face guide. Add a horizontal guide at the approximate level of the eyes.
- Place the shoulders and torso. Sketch a shoulder line below the head, then use a simple tapered shape for the upper body. Keep the torso aligned with the pose.
- Set the hips and limbs. Mark the hip position and use light lines to indicate the arms and legs. Add small circles at the elbows and knees if you need help seeing how the limbs bend.
- Check the silhouette. Look at the outline from a little distance. Adjust the head angle, shoulder width, or stance before drawing clothing seams or facial details.
For a more relaxed pose, let one shoulder sit slightly higher than the other and avoid making both arms perfectly straight. Small differences in angle can make the stance feel less stiff. If you want a simpler drawing, keep both feet planted and the arms close to the body.
Draw Elsa’s face with clear guide lines
Once the head shape feels right, use the center and eye guides to position the features. Elsa’s face is stylized, so aim for clean, simplified shapes rather than heavy shading or realistic detail. The eyes are a key part of her expression, but they should still fit comfortably within the head.
Place the eyes, nose, and mouth
Sketch both eyes around the horizontal guide, with their spacing balanced across the center line. If Elsa’s head turns, the eye farther from the viewer may appear narrower. Keep both eyes following the same tilt as the head. A common mistake is drawing each eye independently, which can make the face look as if it is looking in two directions.
Add a small, simple nose below the eyes. Use a light curve or a short mark rather than a dark, detailed shape. Place the mouth below the nose, following the direction of the face. A slight curve can suggest a calm or friendly expression. Keep the first version faint so you can adjust the expression before committing to the line.
Shape the jaw, ears, and brows
Refine the oval into a soft jawline that narrows toward the chin. Add the ears at the sides of the head, using the eye and nose area as a rough height guide. Hair will cover part of the ears, so draw only the visible sections. Add light eyebrows above the eyes, matching their angle to Elsa’s expression and the tilt of her head.
Step back and check that the features sit inside the face rather than drifting toward the edges. If the eyes feel too high or too low, revise them before adding eyelashes or other small marks. Correct placement matters more than tiny details.
Build the braid and hair silhouette
Elsa’s braid is a defining feature of her Frozen 2 look, so plan its path before drawing individual sections. First, sketch the hairline around the forehead and the larger mass of hair at the back of the head. Then draw the braid as a long, curved shape that falls over the shoulder or down the back, depending on your chosen pose.
Think of the braid as a ribbon-like form, not a row of separate circles. Draw two gently curving outer lines to establish its width and direction. Add overlapping sections inside those lines, alternating their curves as they travel downward. Make the sections slightly smaller near the tip to suggest that the braid narrows.
Leave a few loose strands near the hairline or temple if they suit your reference. Avoid drawing every hair as a separate line. Too many small marks can make the hair look tangled and can compete with the face. A clean outer contour and a few interior curves usually communicate the hairstyle more clearly.
Sketch the outfit and flowing fabric
Block in the clothing over the torso and hips, following the body shapes you already established. Use the pose to guide the garment: fabric should move in the direction of the body and any implied motion. Elsa’s Frozen 2 outfit is associated with a light, flowing look, so long curves and a clear silhouette can suggest movement without requiring complex folds.
Start with the main outline of the top and skirt or dress. Add the neckline, sleeves, waist, and hem as simple shapes. Then place a few long fold lines where fabric bends or hangs. Folds often begin near a point of tension, such as the waist, elbow, or shoulder, and travel outward. Use fewer, more purposeful lines rather than filling the garment with stripes.
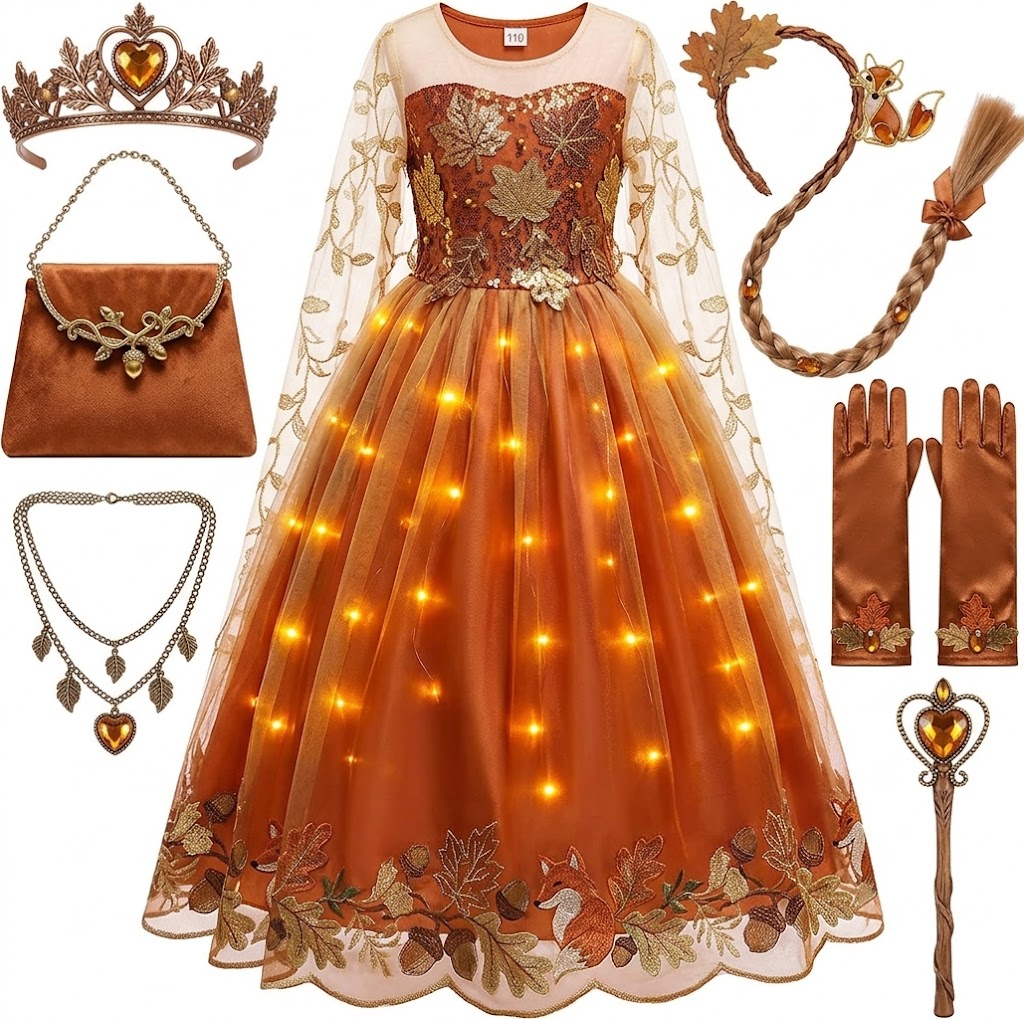
Princess Dresses for Girls Light Up Princess Costume for Christmas Halloween Toddler Princess Dress Up Clothes
Check Price on AmazonIf you are drawing a full figure, check that the clothing follows the legs instead of hiding their placement by accident. If you are making a portrait, show enough of the shoulder and upper outfit to make the composition feel intentional. The hairstyle and clothes can frame the face, but they should not cover the eyes or mouth.
Keep costume details readable
Add small costume marks only after the main shapes are in place. Simple seam lines, a few decorative details, and clear edges can make the outfit recognizable without overwhelming the drawing. Keep embellishments spaced apart. If every area has the same level of detail, the viewer has no clear place to look.
For younger artists or a quick sketch, simplify the outfit into a few large panels. You can add one or two accents instead of trying to copy every detail in a reference. A readable silhouette is more important than a crowded costume.
Compare drawing and coloring tools
Different tools suit different stages. Start with something that lets you make pale, adjustable marks, then choose a finishing tool that matches your comfort level. You can complete the drawing in pencil; color is optional.
| Tool | Useful for | Watch out for | Best for |
|---|---|---|---|
| Graphite pencil | Construction lines, outlines, and shading | Heavy pressure can leave grooves or smudges | Flexible sketches and beginners |
| Colored pencil | Layered color and gradual shading | Dark layers can be difficult to lighten | Careful coloring with soft transitions |
| Marker | Bold, even areas of color | Ink may bleed through thin paper | Simple, graphic finishes on suitable paper |
| Pen or fine liner | Clean final outlines | Marks are difficult to erase | Artists ready to commit to the linework |
A practical approach is to sketch in pencil, erase unnecessary guides, and add color only after the outlines are settled. If you use pen, wait until you are satisfied with the pencil drawing. Test color on a spare sheet so you can see how the tool behaves on your paper.
Refine the drawing, then add color and shading
When the pose, face, hair, and outfit are in place, clean up the drawing in stages. Darken the strongest outer contours first. Use lighter lines for folds and interior details so the figure does not become a thick, uniform outline. Erase the construction marks gently after the final lines are clear.
For color, apply light layers instead of pressing hard immediately. This gives you more control and makes it easier to adjust the result. If you use a reference, observe how the colors relate to one another, but there is no need to match every small shade. Keep the face, hair, and clothing distinct enough to read clearly.
Shading helps show form. Choose one light direction, such as light coming from the upper left. Place soft shadows on the opposite side of the face, under the chin, beneath the braid, and in a few folds of the clothing. Keep the darkest marks limited to small areas. Too much dark shading can hide the delicate facial lines and flatten the outfit.
To suggest shine in the hair or fabric, leave a few small areas lighter rather than coloring every section evenly. These highlights can be simple gaps in the color or pale strokes, depending on your materials. Use them sparingly so they look intentional.
Fix common Elsa drawing problems
If the result does not look quite right, check the large shapes before redrawing small details. Most issues come from a mismatch in angle, spacing, or silhouette. Comparing the drawing to a reference from a little distance can help you spot the part that needs attention.
- The face looks uneven: Recheck the center line and eye guide. Make sure both eyes follow the same head tilt, and compare their distance from the center line.
- The braid looks like beads: Redraw its outer shape as two flowing curves. Vary the width of the overlapping sections and keep their edges connected.
- The pose feels stiff: Angle the shoulder and hip lines slightly instead of making them perfectly level. Let the arms or legs bend gently where the pose calls for it.
- The outfit looks busy: Remove some interior marks. Keep the larger clothing shapes and only a few folds or decorative accents.
- The figure feels cramped: Check the page margins and reduce the drawing slightly if needed. Leave space around the hair, hands, and hem.
- The sketch is hard to erase: Use lighter pressure during the planning stage. If marks have already become dark, erase in small passes rather than scrubbing the paper.
One useful tip is to turn the page or view your drawing in a mirror. A fresh orientation can make proportion problems easier to notice because your eyes are less used to the image. This is especially helpful for checking whether the head, shoulders, and braid lean in a consistent direction.
Make the drawing easier at any skill level
If you are new to drawing, work in short passes: silhouette first, then face, hair, clothes, and finishing lines. Do not try to make the first sketch perfect. The purpose of the early lines is to help you make decisions, not to serve as the finished drawing.
For a younger artist, simplify the body into a large head, a narrow torso, and easy-to-follow limbs. Use a larger drawing area so there is room for the braid and clothing. An adult can help mark the face guide or lightly sketch the pose, but leave the final choices to the artist.
If you have more drawing experience, focus on the way the pose connects. Check how the shoulders lead into the arms and how the waist leads into the hips. You can also vary line weight: slightly stronger lines around the outer silhouette and lighter lines inside the hair and clothing. This gives the figure a clearer visual hierarchy without adding unnecessary detail.
When a first attempt feels frustrating, do not erase the entire page right away. Identify one issue and correct that part. For example, adjust the braid’s curve or widen the shoulders while leaving the rest alone. Small revisions help you learn which choices changed the drawing most.
Start with the pose and silhouette, then place the face, braid, and outfit using light guide lines. Clear proportions and a readable outline matter more than adding lots of small details.
For your next drawing, lightly sketch Elsa’s head, shoulder line, and braid path before refining anything. Check the pose from a distance, make any needed adjustments, and only then darken the final lines or add color.
With a few simple shapes and patient revisions, how to draw elsa from frozen 2 becomes a manageable sequence of steps rather than one difficult image.